Wi-Fi, like electricity, has become a necessary commodity. It affects a lot of our job. A broken connection may be inconvenient or expensive, and the error message “Failed to obtain IP address” that Android users sometimes see signifies precisely that.
Given how much technology has progressed, it is far from perfect. This is particularly true when you really need Wi-Fi but instead get error messages. If you have a restricted mobile data plan, the getting IP address problem on Android implies you’ll be without Wi-Fi for a long time.
Learn how to cope with it on your Android smartphone in the sections below.
What Causes “Failed to obtain IP address.”
An Android smartphone needs an IP address to connect to a Wi-Fi network. You won’t be able to communicate without it. The router on the web is in charge of allocating IP addresses. On Android, you’ll receive the getting IP address error if it can’t assign one.
The actual reason for this occurrence differs widely. On a network you’ve connected to a thousand times, nothing may have changed. It might also be a new network that you cannot link to. Fixing the problem usually entails several troubleshooting procedures to re-establish the connection.
The following are the most common causes for this:
- The Wi-Fi signal is weak. In this instance, the distance between your device and the router should be reduced;
- The encryption technique you selected does not work correctly on your device;
- You’re having issues with your router. If you’re still having trouble connecting, it might be due to a malfunction or a setting problem.
- MAC filtering has been enabled. It’s possible that your address hasn’t been allowed.
- Problems with your device’s software or setup.
Ways to repair the “failed to establish IP address” problem.
1. Re-establish a network connection
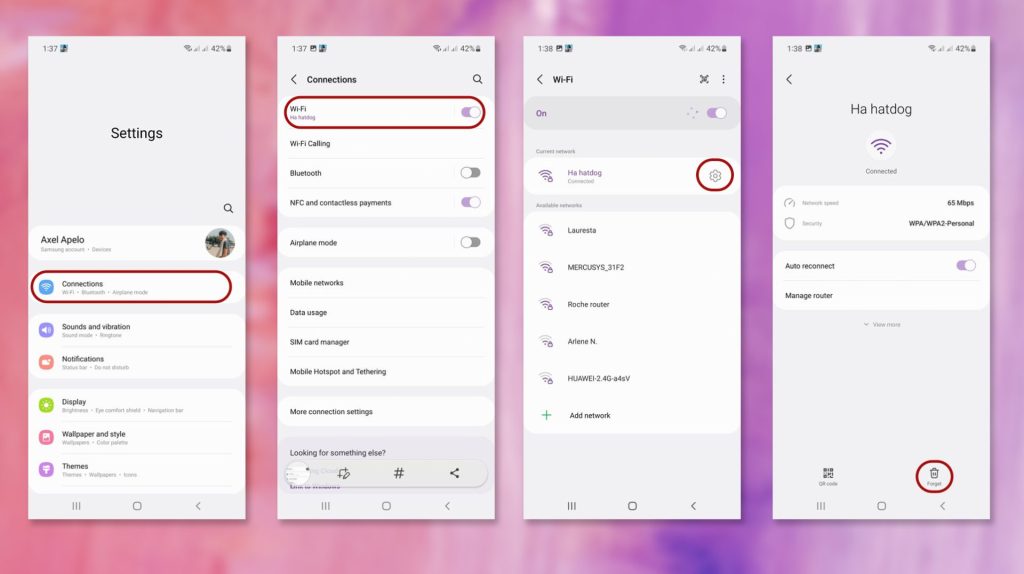
It seems to be the most basic strategy to attempt. The router then forgets about the recent attempt and starts the procedure afresh to issue you an IP address. This should assist if the problem is caused by temporary interference. Follow these steps to do this:
Settings > Connections > Wi-Fi > Tap on and hold the selected Wi-Fi network, and then choose Forget Network > Then, connect to this network as usual.

2. Assign your device a static IP address.
If your device is unable to receive an IP address automatically, you may try manually assigning one. This solution, however, is only temporary since each time you connect to a new network, you will need to manually reset your network settings, switch off your Wi-Fi, and restart your phone.
To assign an IP address, follow these steps:
Wi-Fi > Settings > Connections >Tap and hold the Wi-Fi network you want to forget, then choose to Forget Network > Connect to a network and then select Advanced from the password box > Then choose IP Settings from the drop-down box > Choose Static> Update the last digit of your IP address to any value between 1 and 225 in the IP Address box > Save the connection and try it again.

3. Restart or Reset your router if necessary.
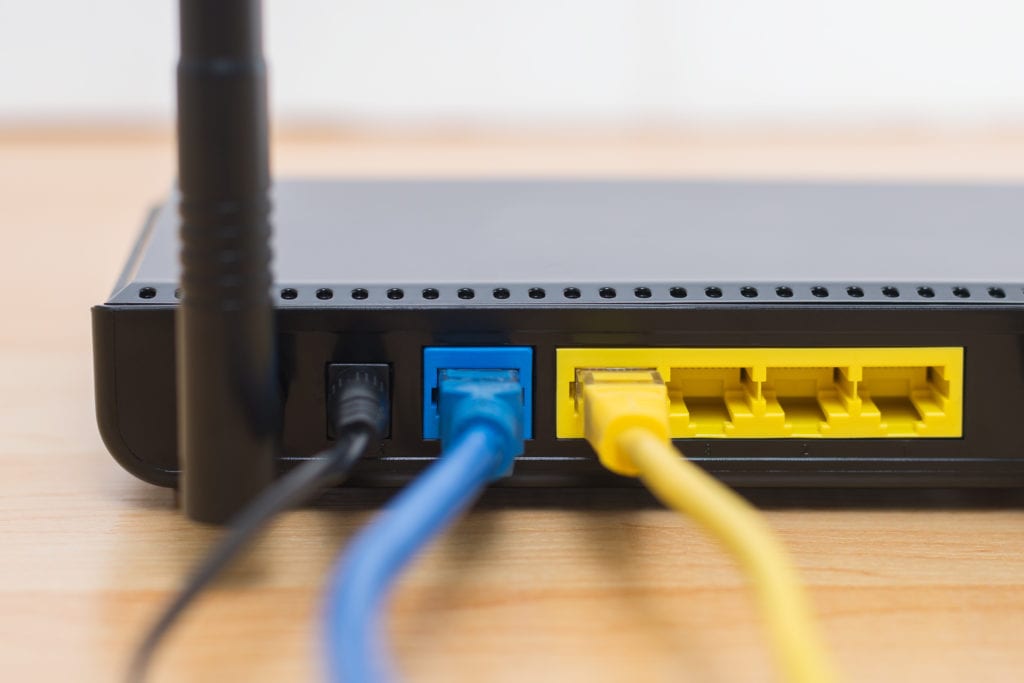
If restarting the router does not solve the problem, you will need to reset your router. A “reset” differs from a “restart” in that all settings are erased, and the router is returned to its original condition. A reset button is included on the majority of routers. Hold down the button until the router restarts. This permits the router to restart and redistribute IP addresses to connected devices if there is a problem. You’ll have to reconfigure the router once it’s been reset.

4. Modify the encryption method
WPA and AES encryption techniques aren’t always compatible with Android devices. You may alternate between them. These settings may be found on the router’s web interface, much as the prior approach. They’ll almost certainly end up in the security department. Look for a field like Encryption Mode, Encryption Method, or something similar and try altering it. After that, use the first technique to rejoin a network.
5. Disable MAC filtering
A MAC address is a number that is issued to each piece of computer hardware that connects to a network. Only allowed MAC addresses can join a network using a MAC filter. It’s possible that your address isn’t one of them. Log in to your router’s web interface and seek the Deactivate/Enable MAC Filtering or similarly titled option to disable MAC filtering.
6. Activate and deactivate Airplane mode
You may be unable to connect to a network due to software problems or interference. Airplane Mode is a setting on your Android smartphone that disables all connections. This helps to keep all of your networks up to date. While it isn’t the same as forgetting about a network, it may be enough to gain an IP address on the web.
You may be able to pull down the notifications/options menu at the top of your screen and hit “Airplane mode,” depending on your device.
Conclusion
Any of the ways listed above will fix your getting IP address problem on Android. Start with the most straightforward approach and work your way up until you discover the one that best suits your needs. If you have an alternative way how to fix “Failed to obtain an IP address,” Let us know in the comment section below
