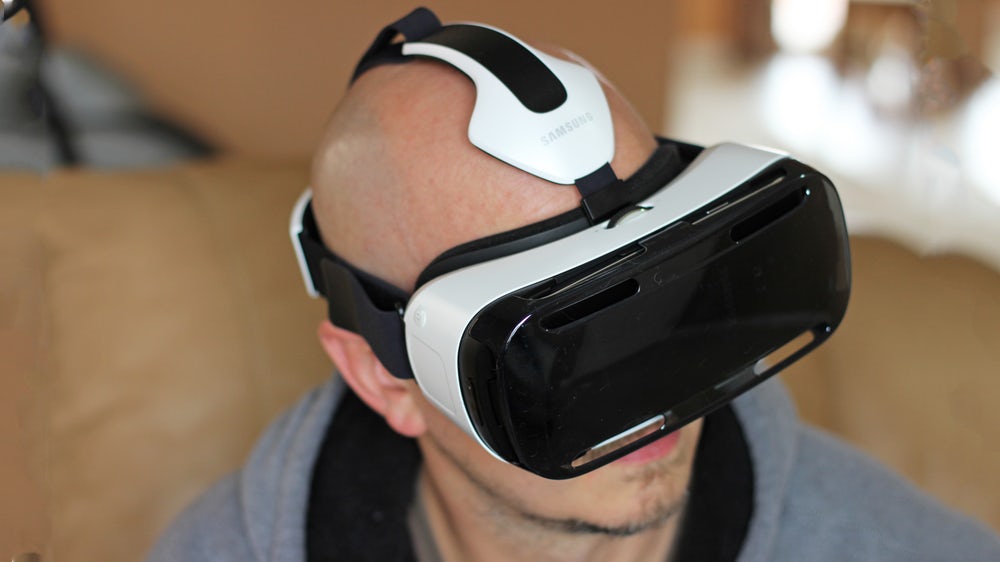
When it comes to the most popular virtual reality headsets of the moment, there’s no doubt that the Samsung Gear VR is among them. After all, what did you expect from a device made alongside the folks over at Oculus, one of the biggest names in the game?
The amount of apps available for it is already pretty big, but hey, there will always be people wanting more from their headset and start developing their own apps!
If you’re fancying this idea as well, but don’t know where and how to start, we have a tip for you: Unity for Gear VR.
The game development platform now comes with built-in support for the Samsung Gear VR and it’s actually the best way to start with making VR apps. After learning how to create virtual reality images, let’s see how you can do something even cooler…
What should I start with?
Samsung and Oculus really appreciate developers who like to get involved with their products, so they put together a pack with tools and detailed instructions, available at developer.oculus.com.
Unfortunately, a lot of the stuff you can find over there is outdated. After all, we’re talking about technology! However, we went through it and found that Oculus Mobile SDK is the main thing we need for VR development.
But there’s a serious problem with it…
Oculus Mobile SDK includes all sorts of things, like packages, samples and all the resources compatible with Android Studio or Unity, so you can build VR apps. Setting up is a real nightmare, so we looked for an alternative.
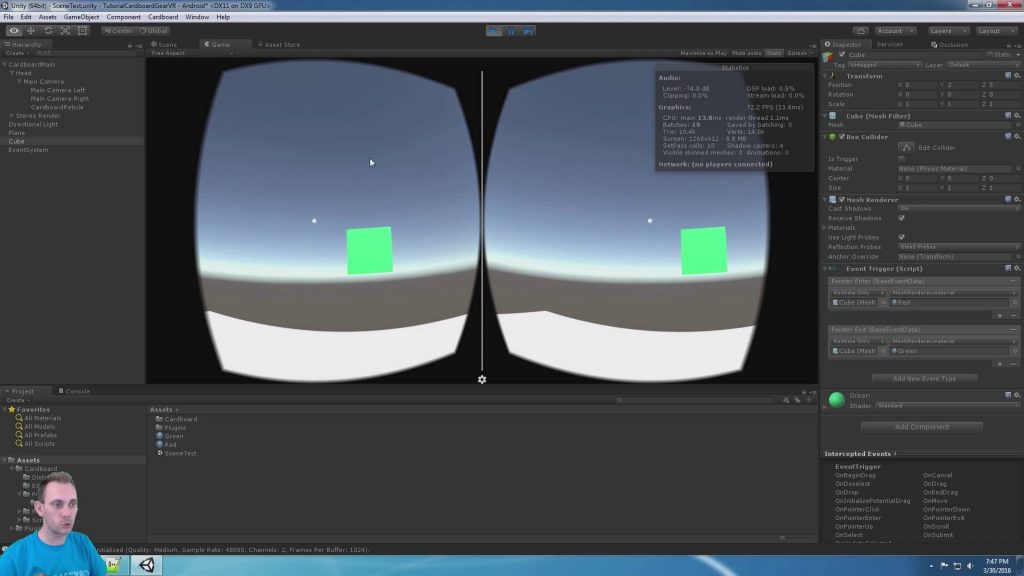
Using Unity 5, but without setting up the mobile SDK, is the fastest and easiest way, as it has support for the Gear VR built-in. Before getting to this, though, there are a few things you need to do.
How to set up an Android environment
Setting up the Java SDK and Android SDK, as well as working USB drivers for your Samsung device on your PC are some of the first steps you need to make. All the documentation on this can be found in Unity’s official setup guide.
Once you’re done with this step, we guess that you’ll want to test the apps directly on your Samsung smartphone. But I guess you don’t want to insert the phone in the Gear VR each time you need to test the app, right?
In this situation, you should know that you can build and run directly from Unity, as long as you enable development mode for Gear VR. You can do it by following these steps:
Step 1: Go to Settings, in the phone’s menu
Simply click on the Settings icon, after opening the app drawer.
Step 2: Go to Application Manager > Gear VR Service
Selec this option.
Step 3: Select Storage > Manage Storage
Look for the VR service version.
Step 4: Click on VR service version a couple of times,
Wait until you get the “You are a developer” message, then the Developer Mode toggle is displayed.
Step 5: Toggle Developer Mode.
Ok, you’re almost ready. Let’s move on to the next step!
How to set up Unity for Gear VR
Nervous? No need. You’ll learn how to develop VR apps in no time! Just stick with me on this next important step.
Since you’re going to use Unity 5, you need need to complicate your life with any additional integration, so it can work with VR. Just stick to the Oculus Utilities, as the package comes with all the API, scripts, as well as the prefabs you need in order to work with Gear VR. You can download it from here.

When you’re done with this, you need to follow these steps:
Step 1: Open unity and create a new project
Step 2: Go to File > Build Settings and select Android. Then, switch the platform.
Step 3: Go again to File > Build Settings and open Player Settings.
- Set Virtual Reality Supported in the Other Settings. This should show Oculus under SDKs.
- Set the Bundle Identifier and Minimum API Level.
Step 4: Get a signature file (.osig)
This is a very important step, since the .osig is required to run your Oculus app on the device. Still, you can get one by registering as a developer on Oculus’ platform, then generate it here.
You need to obtain your Device ID, by running adb services, through a Command Prompt on Windows. Then, copy it into the form and download the .osig file. It should be placed inside your Unity project’s directory, at YourProjectDirectory/Assests/Plugins/Android/assets. If you can’t find it, create one.
Skipping this step will lead to getting the “APK is not Signed” error while running your app.
Step 5: Open the package you just downloaded
The OculusUtilities.unitypackage will open in Unity, so go on and Select all items, then Import them.
These are all the Universal Scripts you need, Event Handlers, as well as everything else you need in order to create your first Gear VR app.
Once you’re done with importing, you will see the OVR and Plugins Folder in your project, containing all the utilities we will use shortly. Also, if you check the scenes folder, under OVR, you will see a couple of basic scenes, but great for starters.

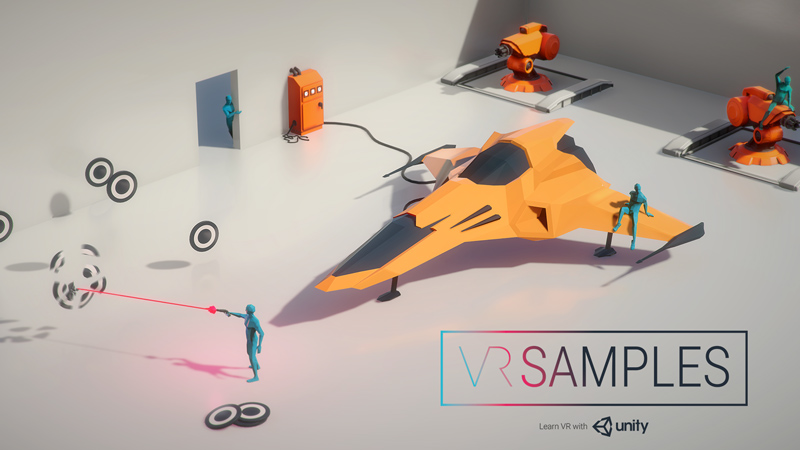
Unity’s Asset store offers a lot of VR samples, but you can also find detailed projects, built for the Samsung Gear VR and Oculus Rift.
Step 6: Test the demo scene
Now that your first demo is ready, you need to connect the device to the your PC.
Open the Scene, then go to File > Build Settings, then opt for Add Open Scenes.
Here, you need to check the scenes you want in your app, the select Build & Run. If everything went well, you should be asked to insert the phone into the Samsung Gear VR and see what you’ve done.
How to publish an updated build over WiFi
In order to make your development workflow even easier, we have an additional step for our Unity Gear VR tutorial which you can consider.
Presuming that you’re seriously thinking at continuing your newly found passion, you will eventually want to publish an updated build of your app. Instead of removing the phone from the headset and connect it to your PC via USB, you can push the updated game over WiFi.
For this, you need the ADB wireless app, available in the Play Store. Connect the phone to your PC, via USB, using this app, then follow the on-screen instructions.
You need to run the following commands:
- adb tcpip 5555
- adb connect [device IP]
You can find the adb command in the “platform-tools” directory of your Android SDK installation directory.
Once you have new build ready, you can keep the phone in the Gear VR. This will automatically restart with the new build, once Unity is done with it, then publish it over WiFi.
Wrap-up
We know, it doesn’t look that easy at first, but once you get a clear understanding of Unity for Gear VR, it will become easier and easier.
So, are you going to become a Gear VR developer now? Let us know what do you think about this tutorial or ask questions, by dropping a few lines in the comments section below.


Comments are closed.